该教程的前置:
简介:
这是搬运自youtube的一个系列视频教程,介绍了从雪的雕刻,到贴图制作,到keyshot最终渲染的工作流程。原视频链接
这是该教程的第四部分:雕刻雪。
Chapter4:ZBrush – Displacing Stones and Sculpting Snow
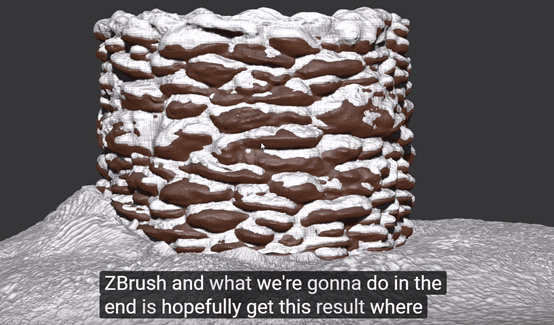
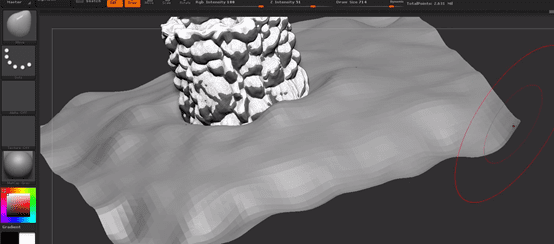
In this chapter we will use our hand painted displacement maps to displace stones onto our well within ZBrush. Then I will demonstrate a technique for laying snow onto our stones using an old but powerful trick.
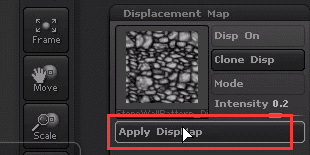
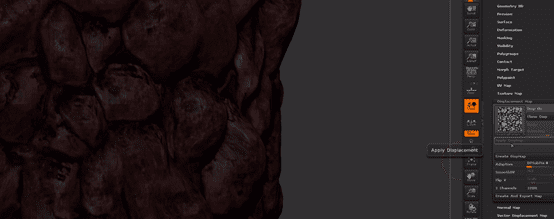
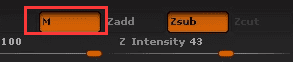
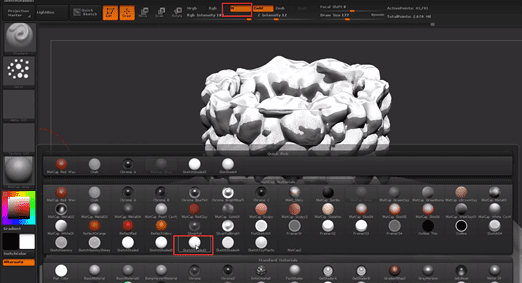
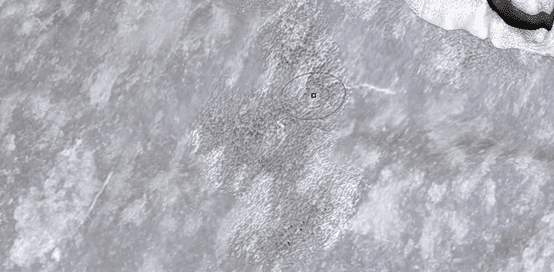
We add a displacement map:
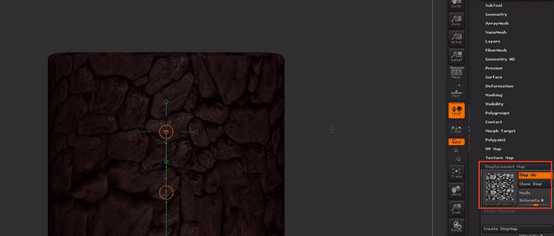
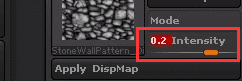
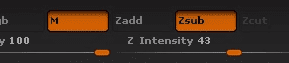
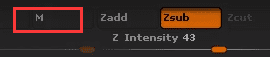
Change the instensity:
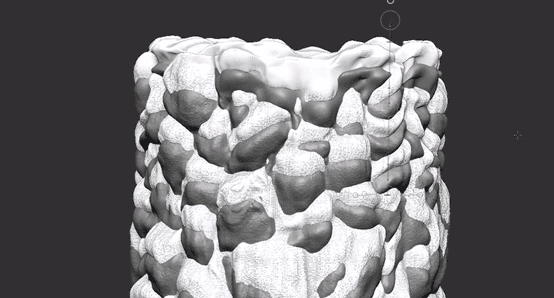
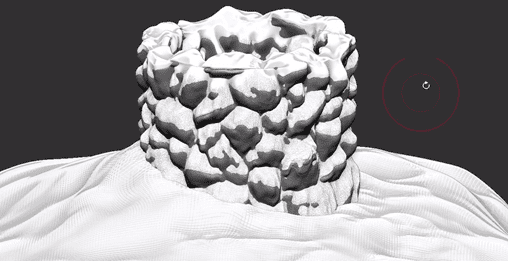
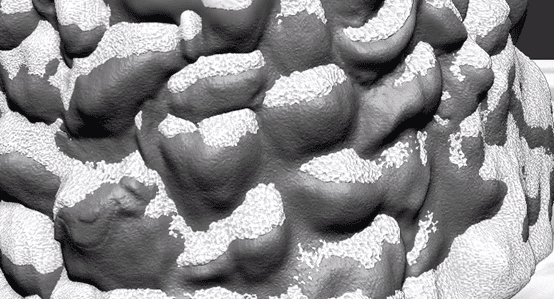
Then we apply this displacement:
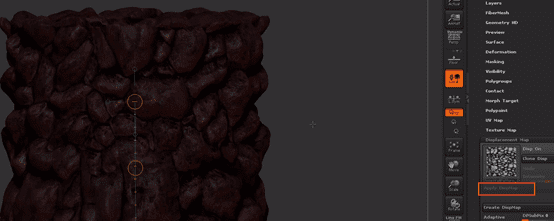
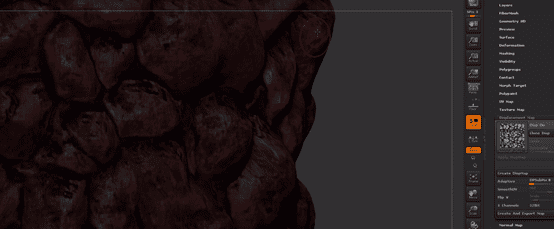
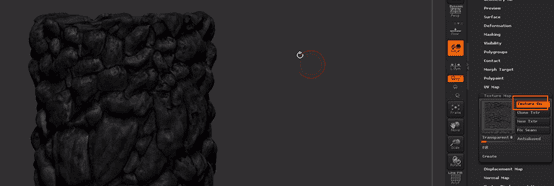
Turn off the texture map:
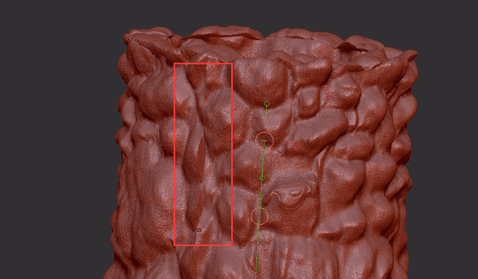
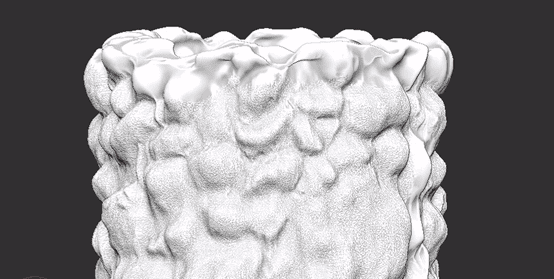
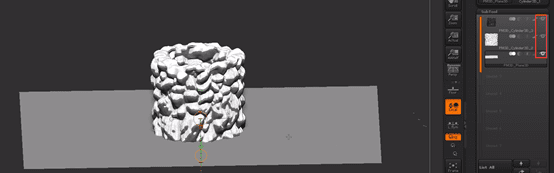
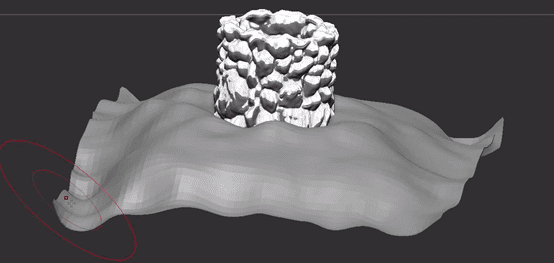
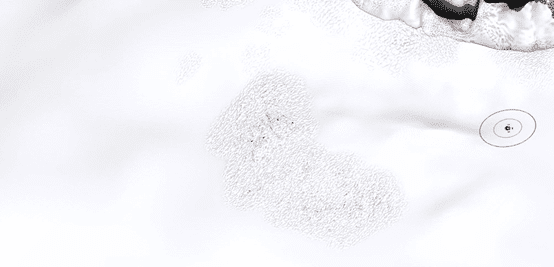
But we find we do not have enough tessellation:
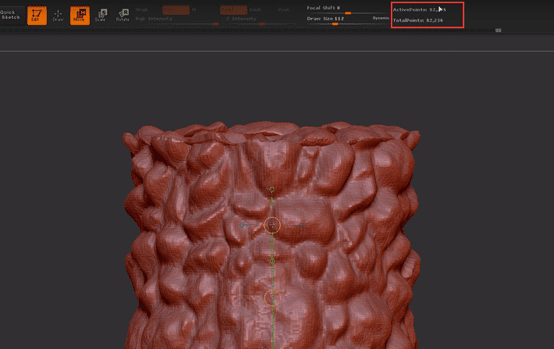
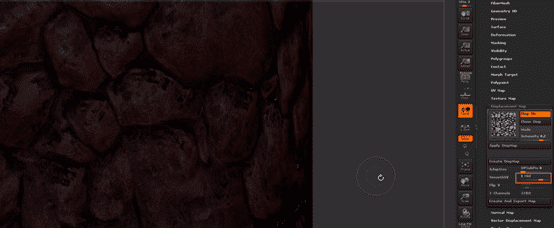
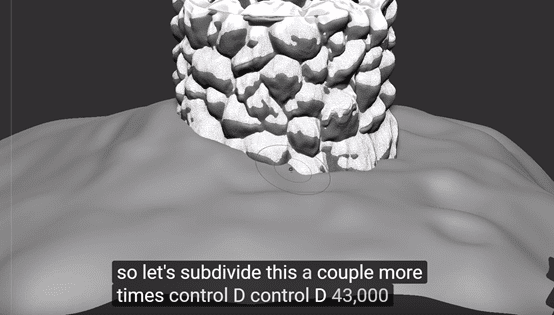
So let’s undo that displacement, and subdivide this up until about a million or so.
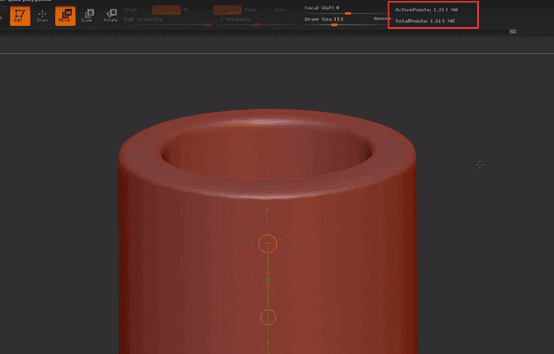
Then do this one more time:
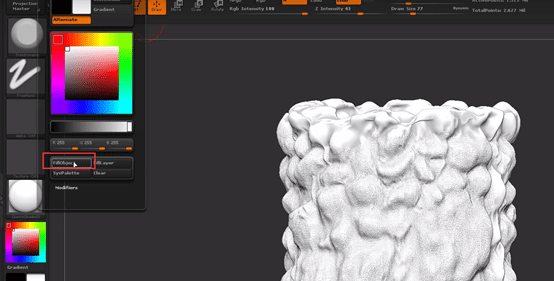
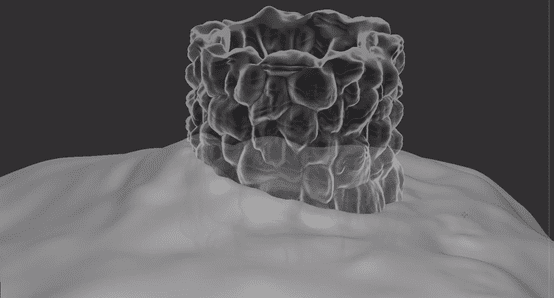
One thing that should be mention is that the 0.5 means that there’s gonna be no displacement, means the gray place in that displacement map:


Apply this displacement:
If change to one:
If change to zero, then also be another result. So we should keep that 0.5 to get the result which can match the displacement map:

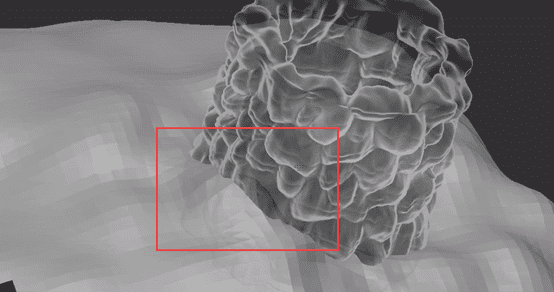
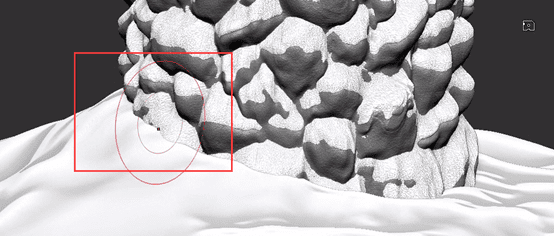
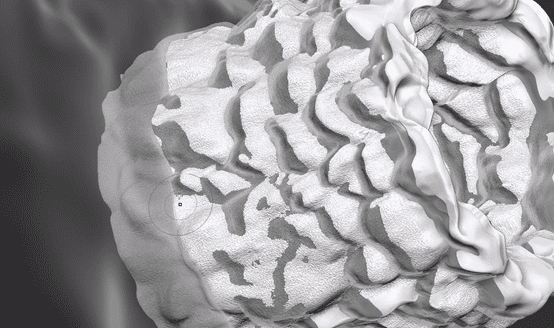
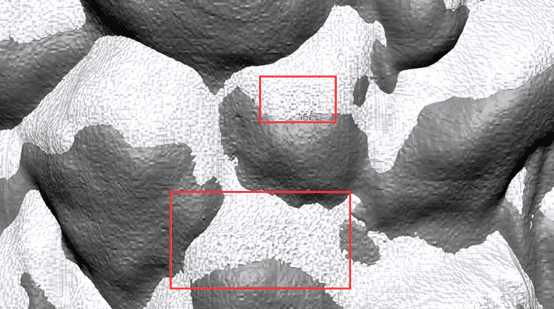
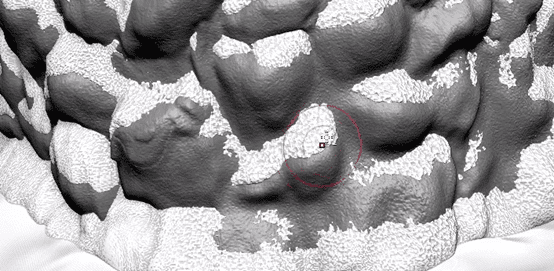
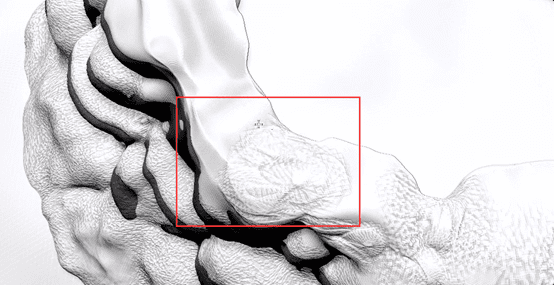
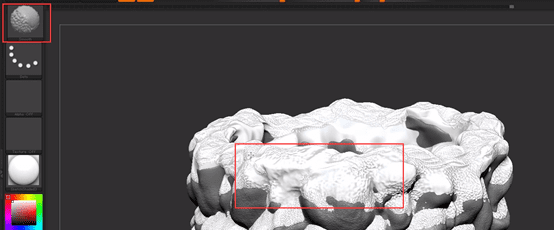
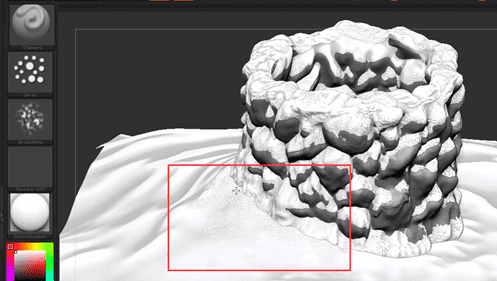
One thing we notice is that there’s obviously some funky stuff happening up here that’s where we have the uv scenes where they connected. We will smooth that out a bit. And it also will be covered by snow so we don’t too worry about that.

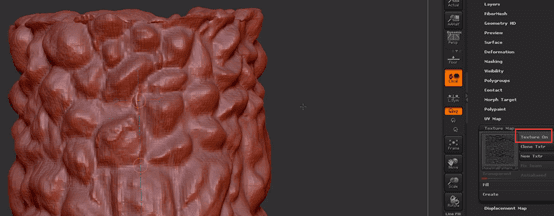
Turn off this displacement map:
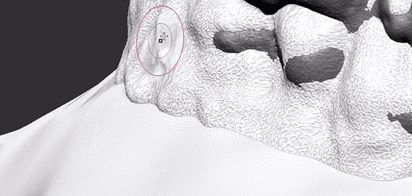
Smooth these funky stuff:
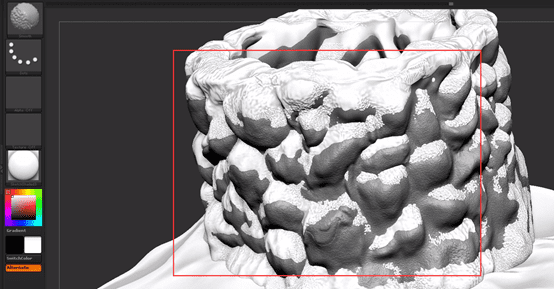
We can also use trim dynamic brush:
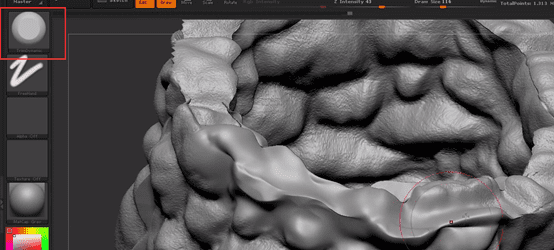
Repair these place till you get most of this kind of taken care of .

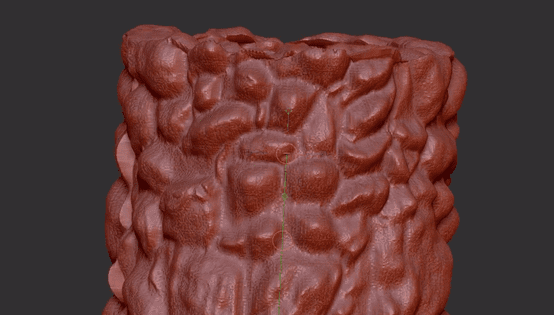
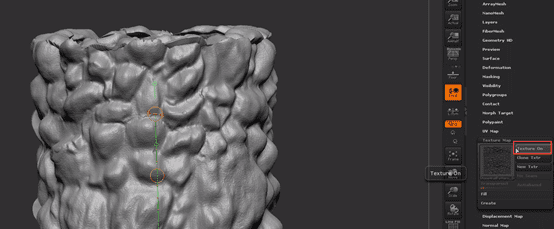
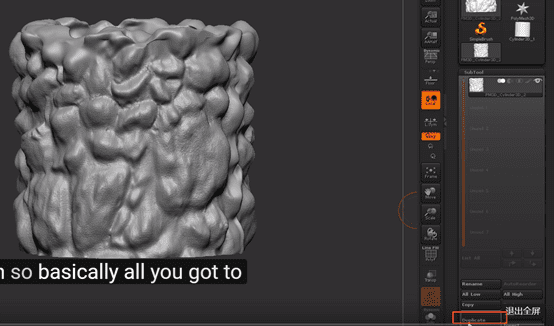
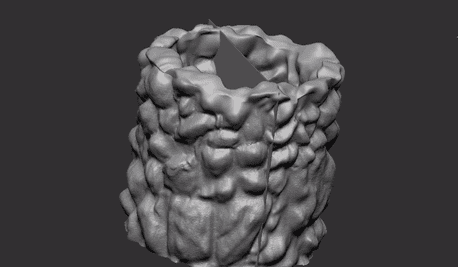
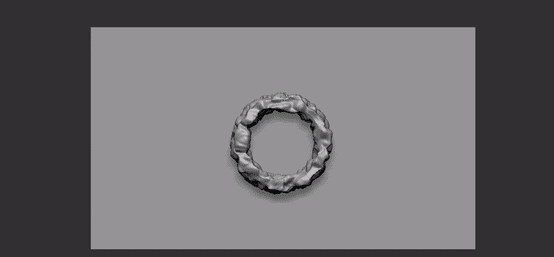
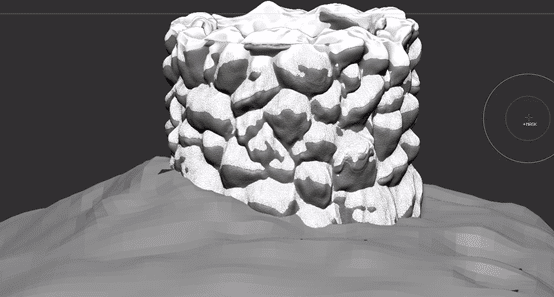
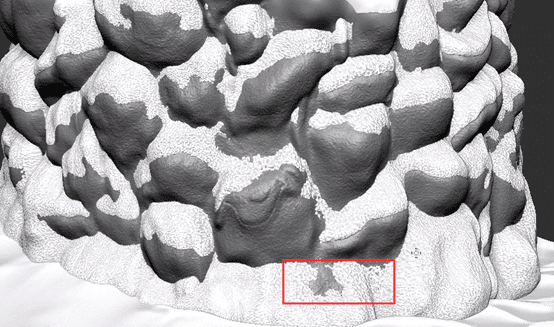
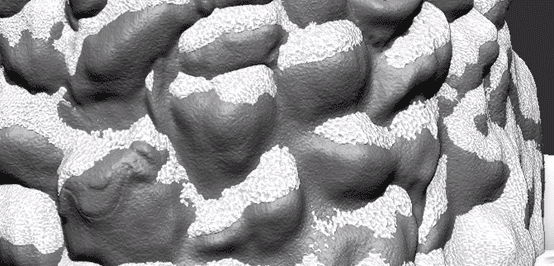
Well done:

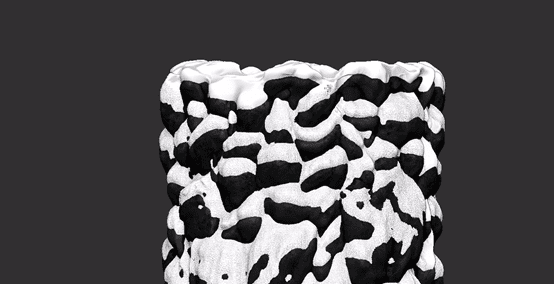
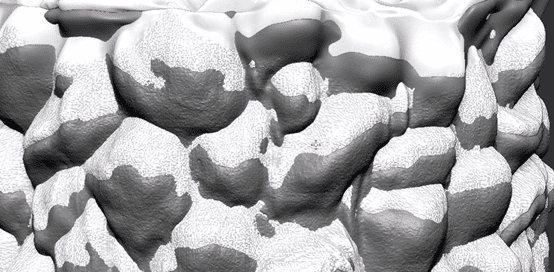
Turn on the texture map and we find it’s very nice:
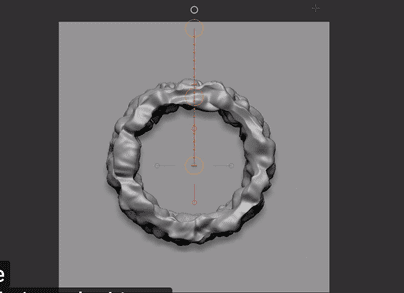
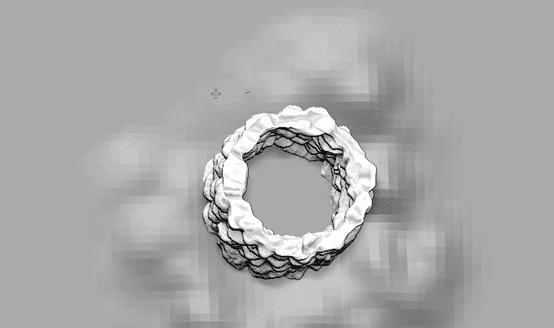
The next thing we gonna do is make a snow match this
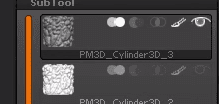
First, we make a duplicate:
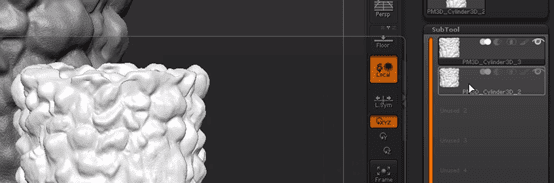
The bottom one will be the snow object and the top one will be the wall object.

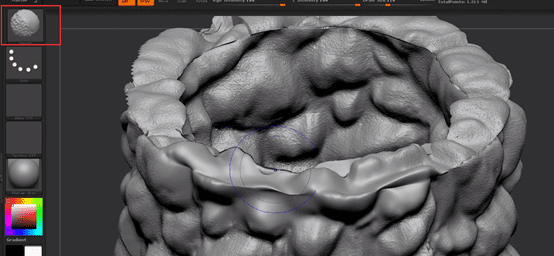
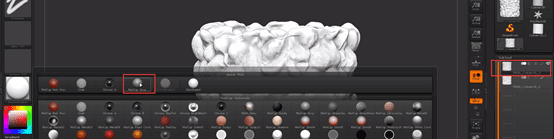
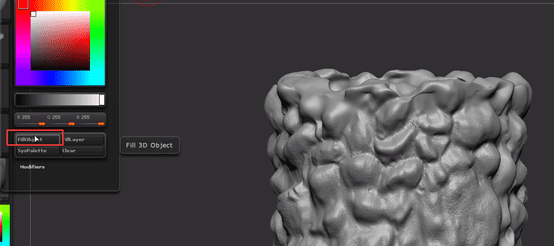
What we gonna do is we’re gonna apply different materials to each of these. So we activate the materials and then we can flood these with different colors.
We give this, which kind feel like snow.

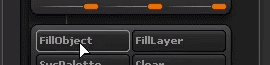
Fill object:
Original object, give it gray and fill object:
So we have snow underneath and this one on the top, choose the first one
Keep this texture map on:

Chose the second one:
In order to put those different materials on you have to turn this on first material channel. Now we turn off it because we don’t need it anymore.
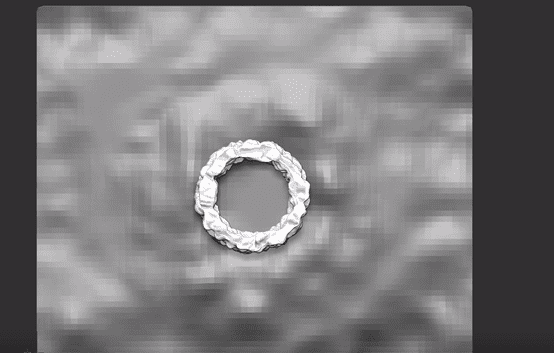
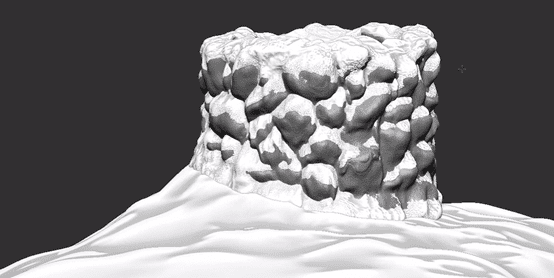
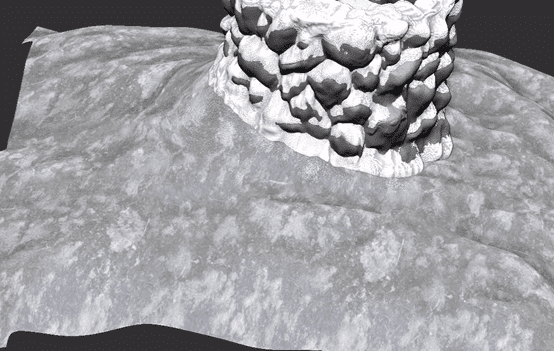
Now we need to offset the snow. We got the transform tool to drag that out. Move it up. holding down the shift key.

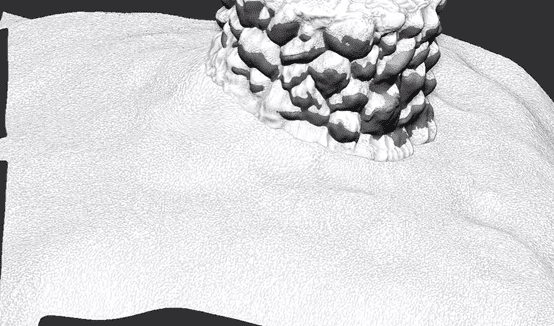
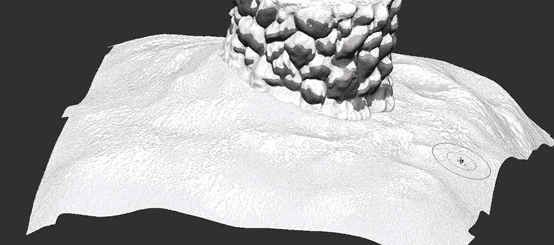
Then we got snow sitting on the top of the stone.
We go back to the stone base that we had here, turn off the texture map.

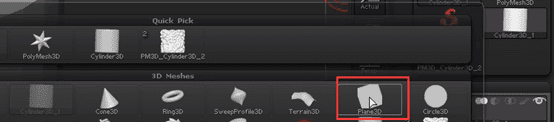
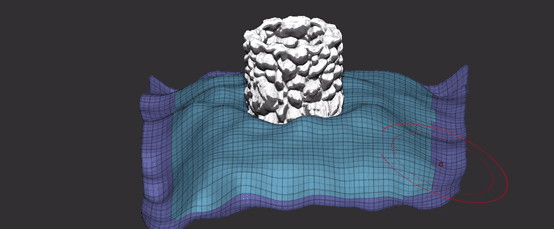
Create the plane
Then we should create a plane.
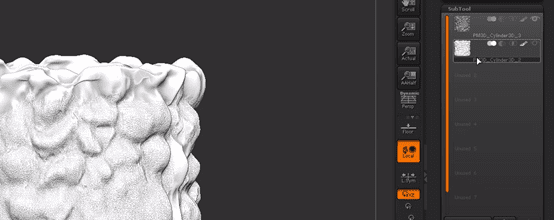
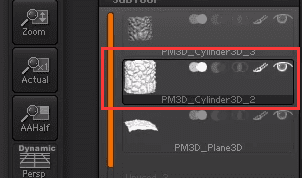
We need to do is go to another subtool over here.
Just click sth like cylinder:
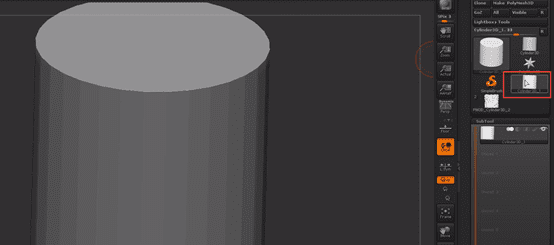
Click that again, to find plane:

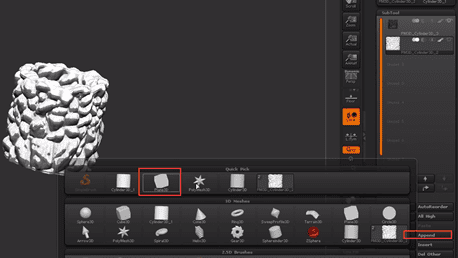
Go to snow subtool and add this plane:
Rotate it:
Scale this up:
Show everything:
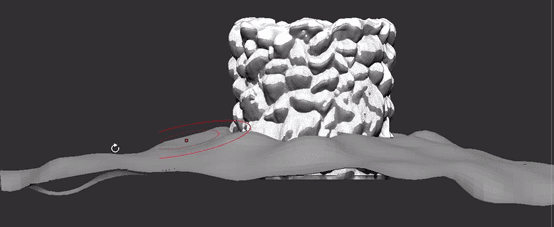
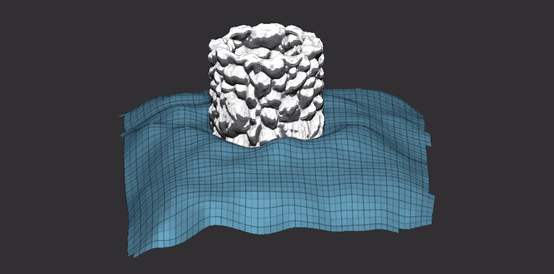
Next we go to push and pulling the snow plane around a little bit.
Subdivide it once:

Use this dots to create some more organic and lumpy.
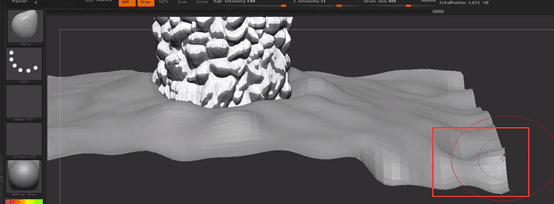
And invert the edges:
Corners we can use move tool to pull down a bit all around the edges.
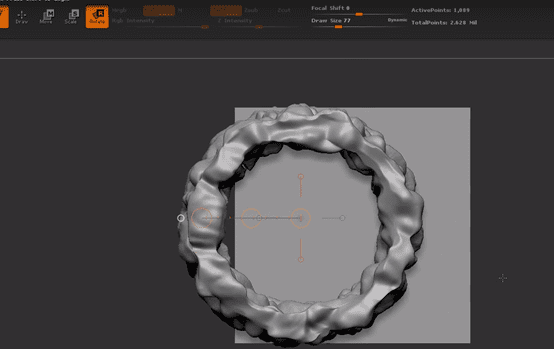
Mask:

Ctrl+w and shift+f
Then ctrl+shift+click the middle one:
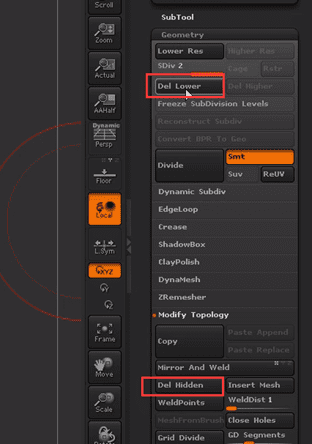
Then delete lower and delete hidden:
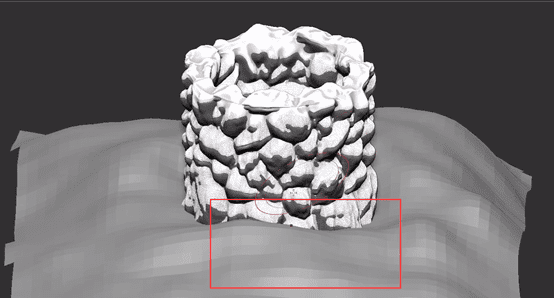
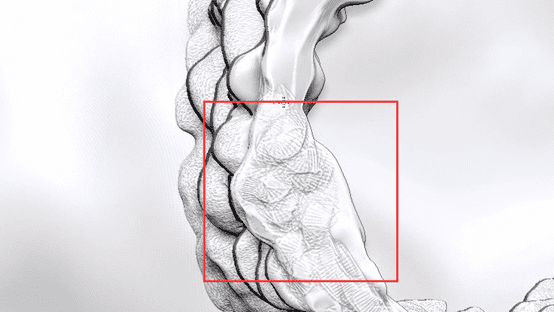
The UVW seam is on the other, so we will make the snowdrift on this side:
Sometimes you’re trying to work this you’ll see that the sides are still moving and not building up right around here that’s because when these subtools are active and not in transparency mode, it acts like a kind of blocker which is actually quite useful.
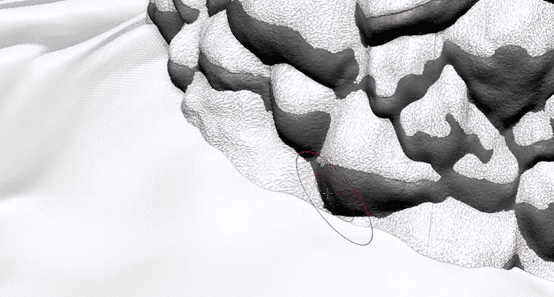
But if you come down here and click this:
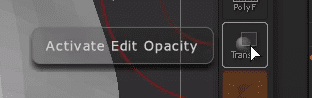
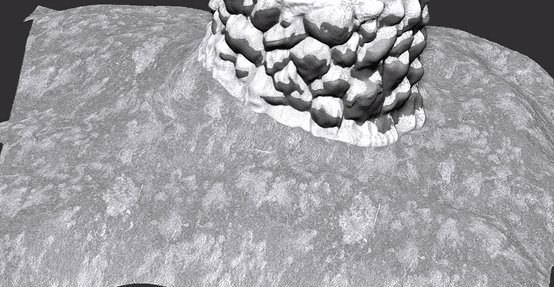
Now we can sculpt under here:
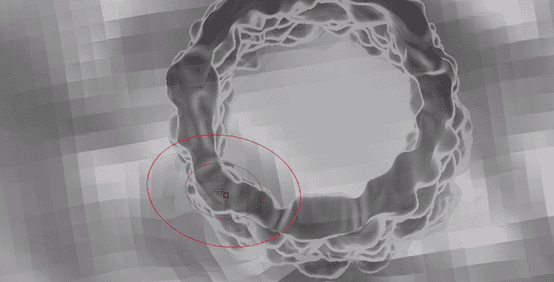
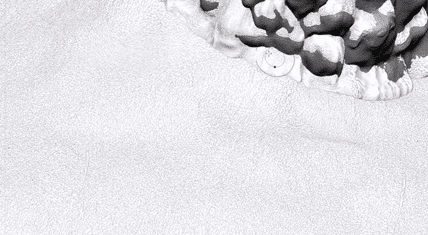
We can build our snowdrift along the side of the well.
Subdivide:
Turn the material channel then give this plane a white material:
Fill object:
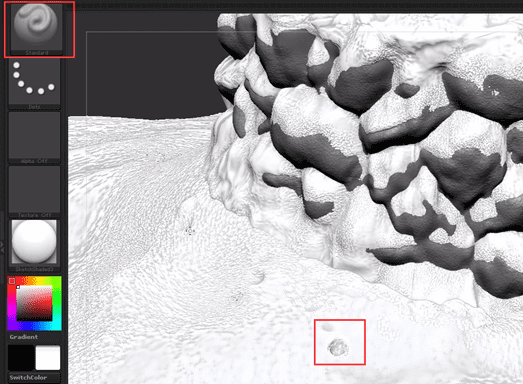
Sculpt the snow on the rock
Let’s give our snow on the rock a little bit of love.
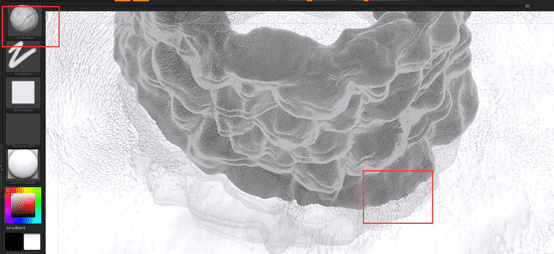
We want to be able to blend and even a little bit nicer between here, and also we don’t want such a uniform distribution of snow along all the rocks.
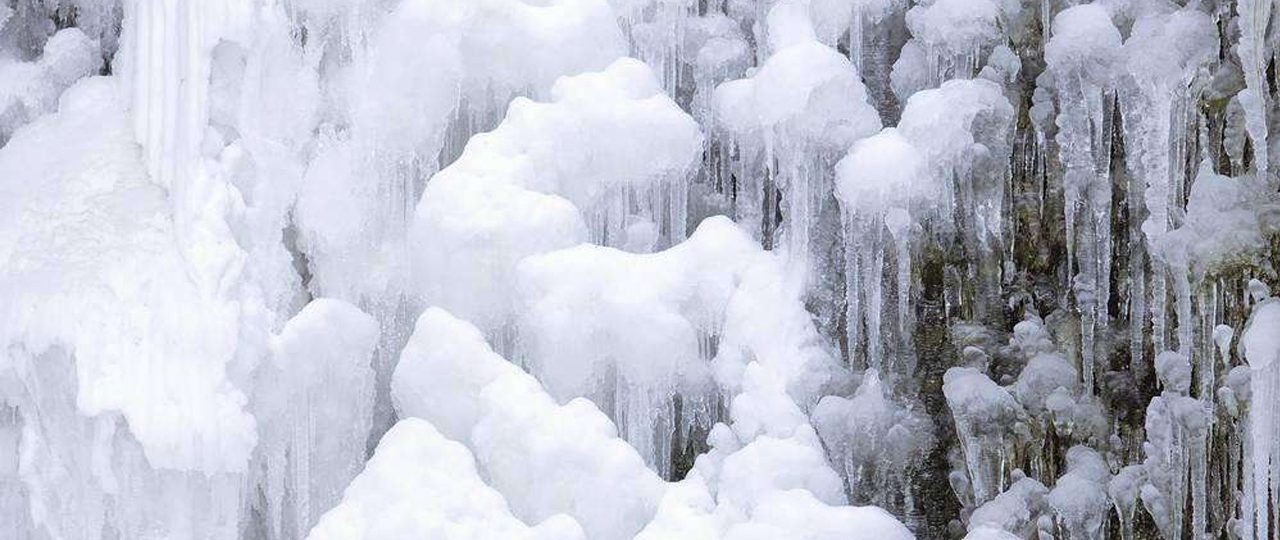
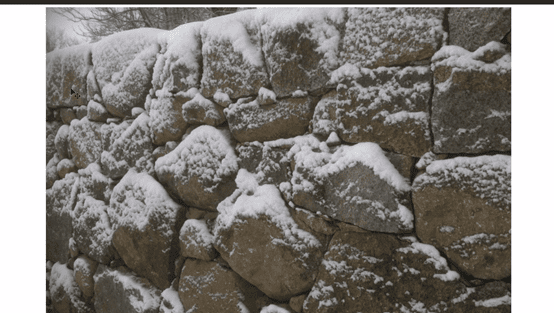
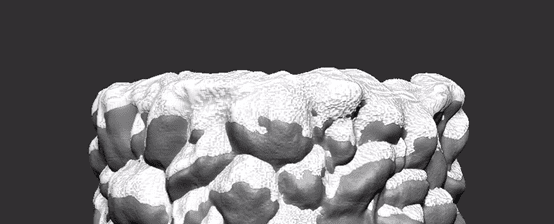
Reference: actual snow on the top of the rock. Have so many break ups.
Click the snow subtool over here:
To repair these place to make sure that there’s no empty rock space.
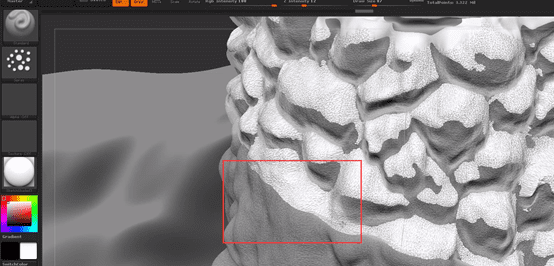
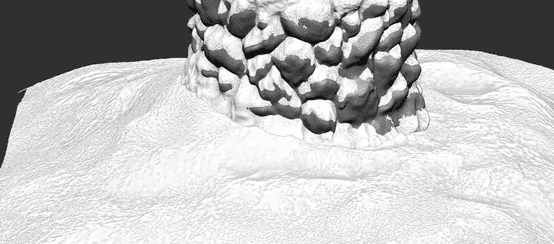
Where the wind is gonna be blowing heavier we’re gonna have thicker amount of snow….just follow your imagination who knows.
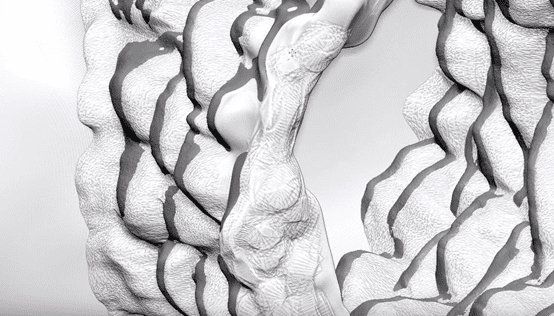
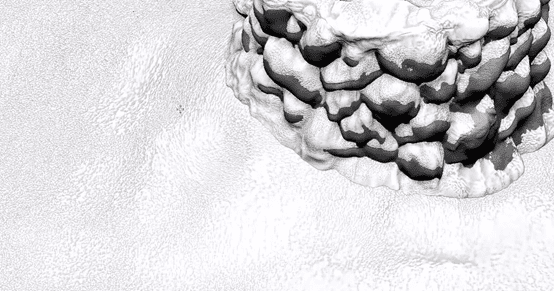
We actually have a little bit more building out from here so it feel like it’s mounting up.

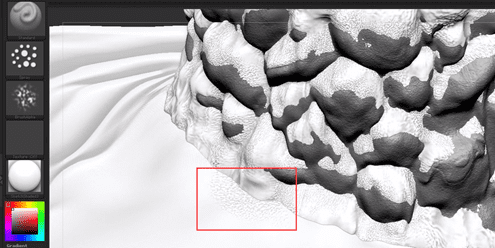
To make a beautiful blend:
Press alt key to delete some snow:
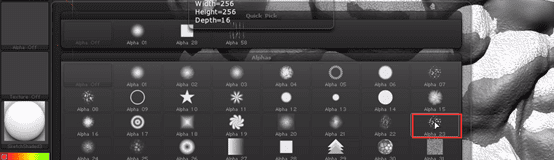
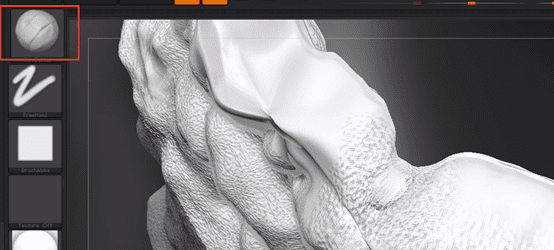
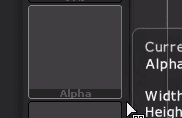
We want make some break up so we find an alpha which have a little bit break up:
Make it a little bit more barren:
Some place can use clay build up to add something:

Smooth these place:
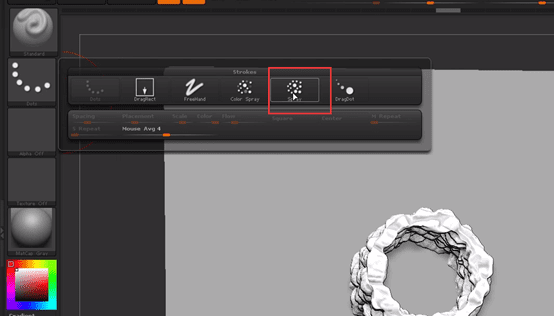
When done, let’s add a little bit of this kind of texture to the plane
We can do the same thing let that brush that we had but which probably shouldn’t make it too big because we want to keep the same frequency
Use alpha to make noise
Something like this can take a lit bit too long so another we can do too is since this technically has UV maps on it we can make an alpha map to do something really quickly.
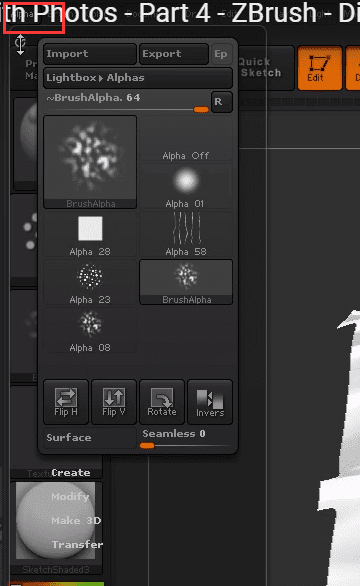
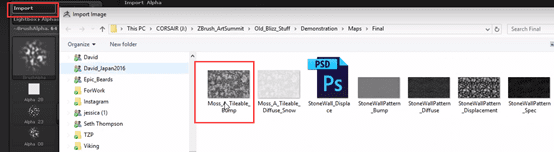
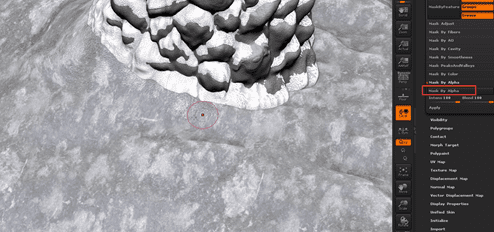
Import an alpha map: even though this is moss I think it will make an interesting mask for this.
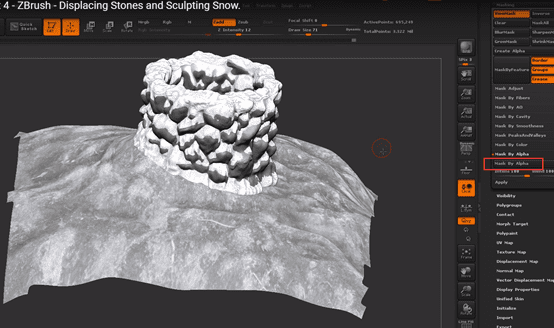
Let’s go to mask and click that:
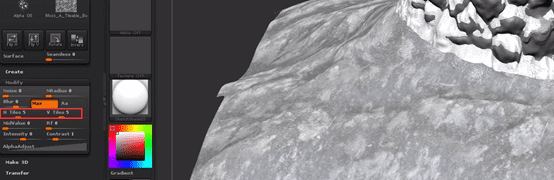
However, I want to get some high frequency so we’re gonna do some tiling on this
Let’s change these two to three:
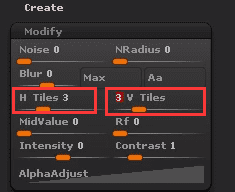
Then mask by alpha again:
Five five:
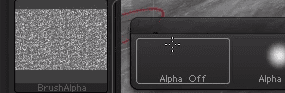
Now if we sculpt on here and I’m going to turn off the alpha, turn back to the default brush, you can see we’re just painting on and it’s getting the shape.

If we press ctrl H you can hide the mask and it’s still technically active:
And the other thing we can do too is if we want quickly get some deformation or interesting stuff in here. Ctrl H to show the mask again and we could come down here to deformation and we can play some like inflate let’s dress like 10:

There’s an interesting noise appear。
Ctrl H hide the mask:
Turn this tiles back down because if I use an alpha again later that’ll active here too even if I’m on a brush.

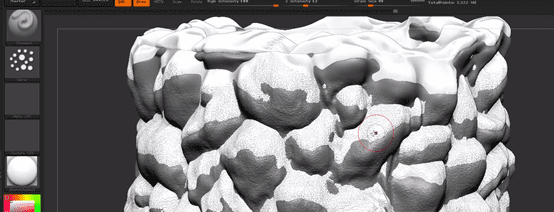
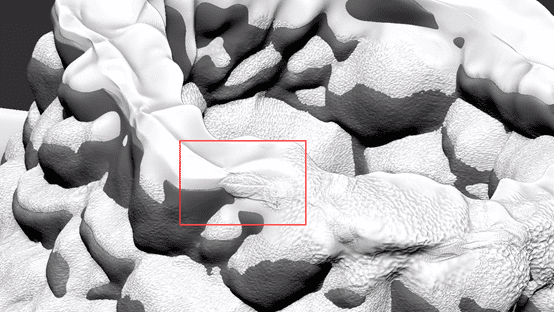
Let’s smooth some of these areas out on our snow plane. We just don’t want this to feel too uniform and CG

We could take this in key shot right now.
But we also can use standard brush to make some deep hole or sth others just to have some imperfections you know.