简介:
这是搬运自youtube的一个系列视频教程,介绍了从雪的雕刻,到贴图制作,到keyshot最终渲染的工作流程。原视频链接
我将分五个章节来介绍这个流程。
这是本教程的第一部分:在ps中制作一张连续贴图。
Chapter1:Creating Tileable Texture Maps in Photoshop
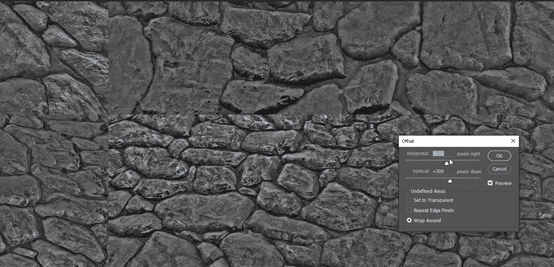
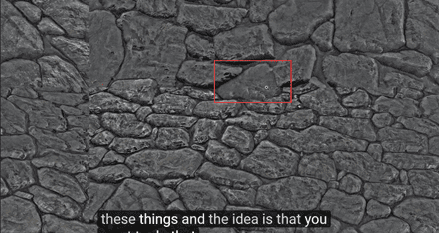
In this first chapter you will learn how to create tileable texture maps from any photo or image using a variety of valuable Adobe photoshop techniques. When we offset this map, we can see..
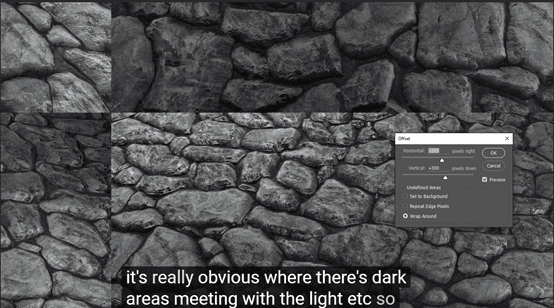
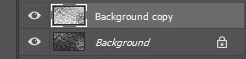
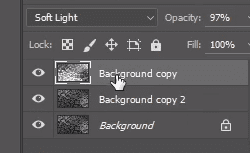
So we should repair it. First, we duplicate this layer and then we just going to invert that with 【ctrl+i 】。

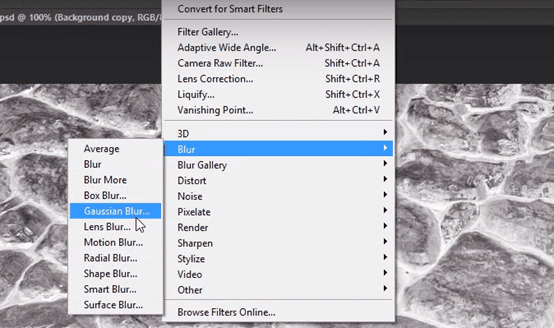
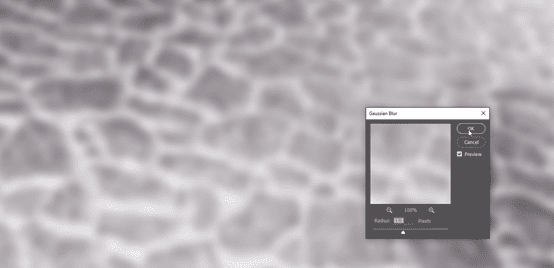
Then we can blur this with a Gaussian blur:
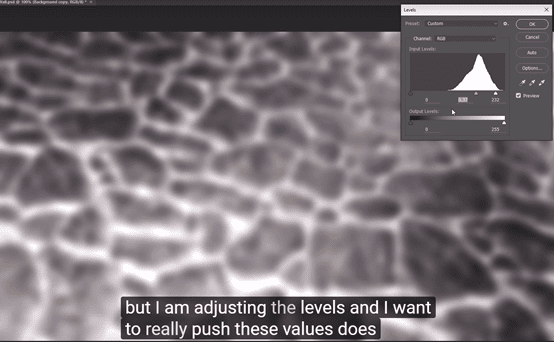
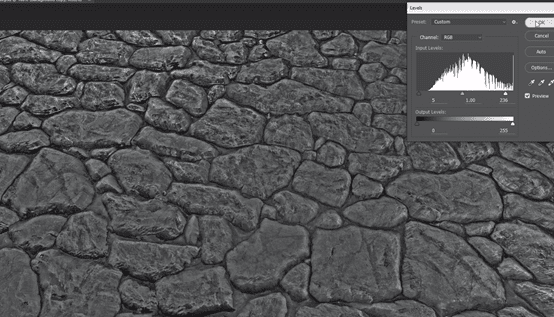
Then we adjust the levels to get some really dark and some brights
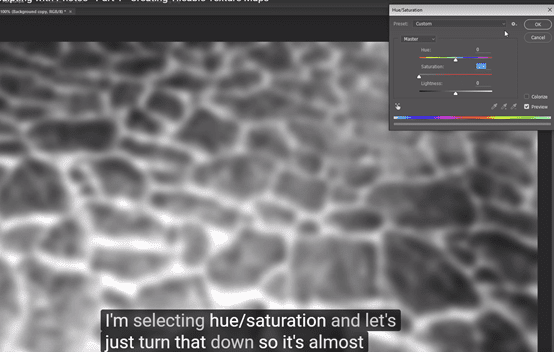
Then use saturation to make black and white.
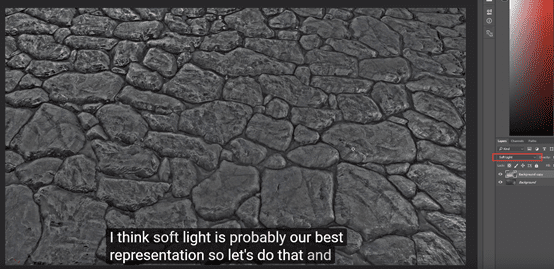
Change the layer to’soft light’,and maybe you can try some other styles:
Change the lightness again with levels.
Make a duplicate of background here then going to collapse these

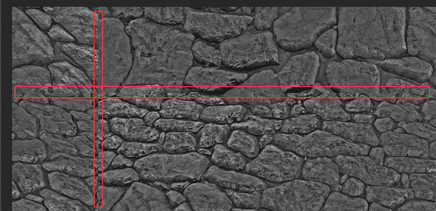
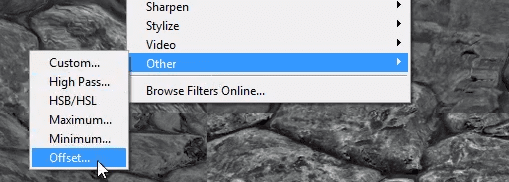
Offset again:
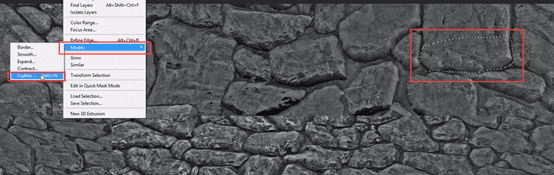
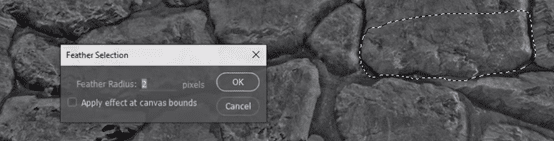
Choose one then feather
Ctrl c ctrl v move to this place:
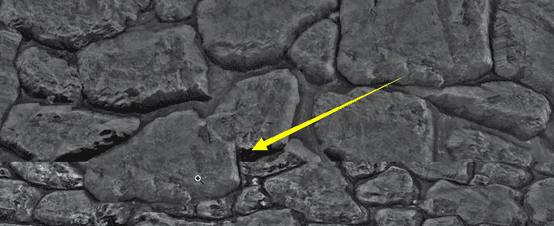
Use mask, eraser and something others to repair it:
Use the same skill to repair these place: blending things slowly over time.
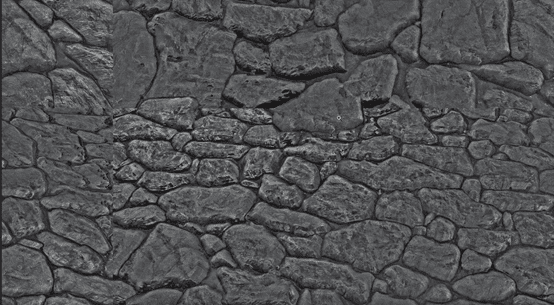
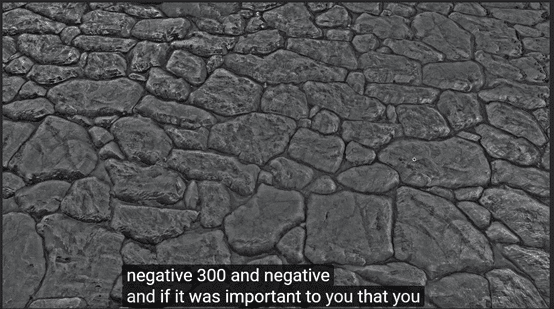
When you have done all these repair, you offset this picture again, to your original photo. And then, you have a nice tileable map for our stone.
该教程的后置: