该教程的前置:
简介:
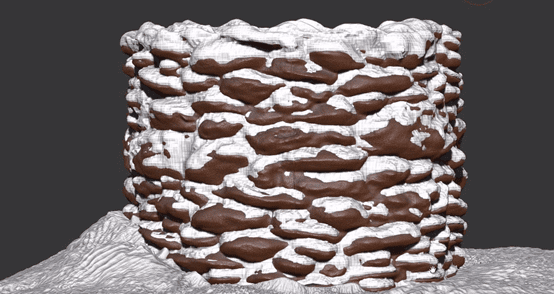
这是搬运自youtube的一个系列视频教程,介绍了从雪的雕刻,到贴图制作,到keyshot最终渲染的工作流程。原视频链接
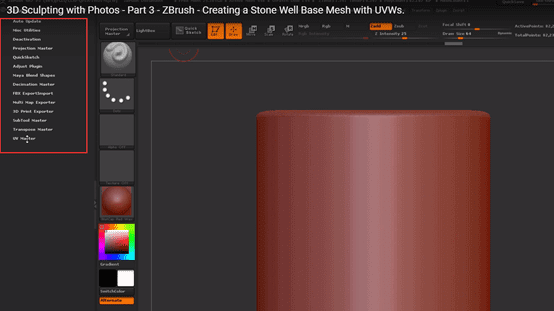
这是该教程的第三部分:在zbrush里制作石头的模型,并且拆分uv。
Chapter3:Creating a stone well base mesh with uvws
In our first ZBrush chapter we will create the base mesh of a stone well using some standard ZBrush techniques. We will also learn how to create Boolean objects to cut holes into our Subtools, followed by how to create and edit UVW maps with the “UV Master” Zplugin Tool.
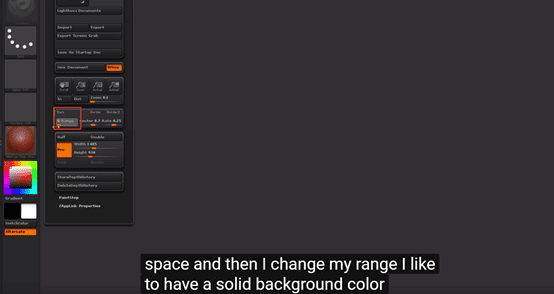
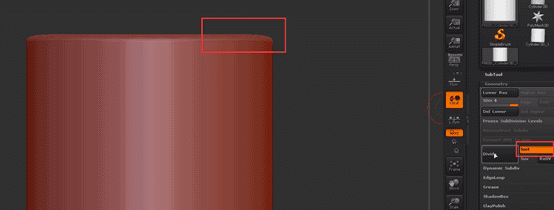
First. Building a new document:
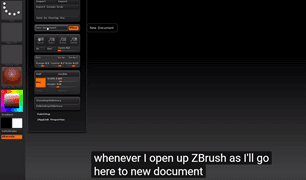
We can change the background color in this place to let us feel comfortable:
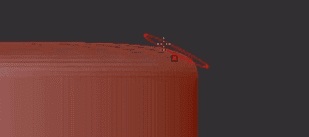
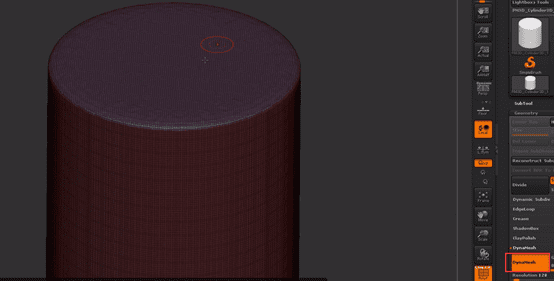
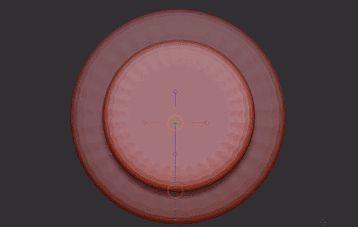
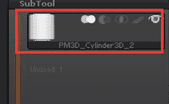
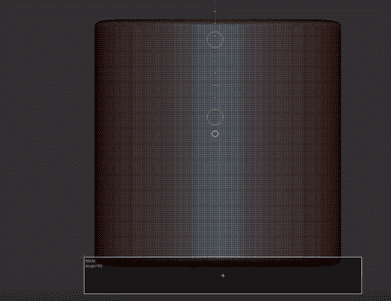
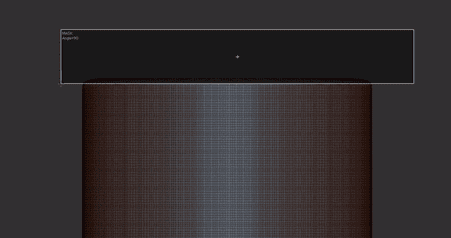
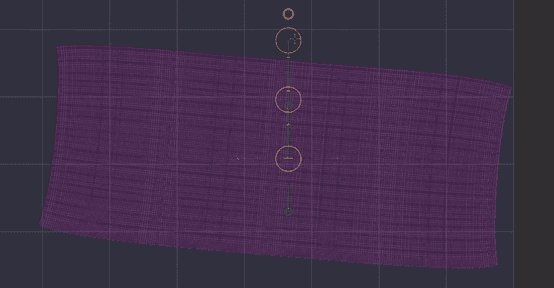
Grab a cylinder, this is going to become our well eventually. Then press T.
Then make polymesh 3D so now this is an actual active object that we can work with.
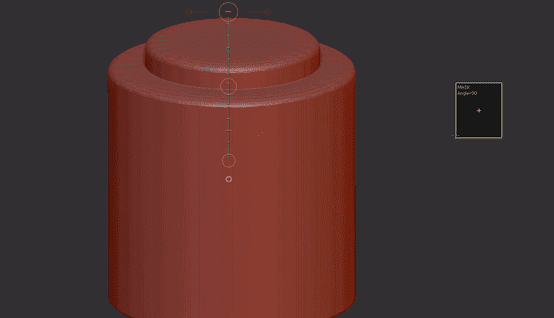
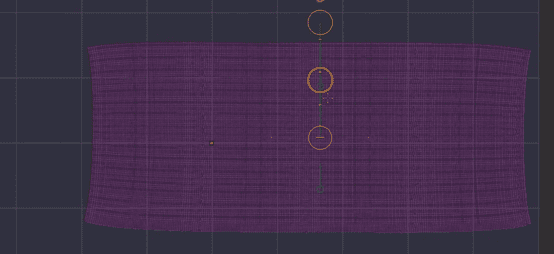
We should subdivide it but if we do not turn off the default, the edges will be very smooth:
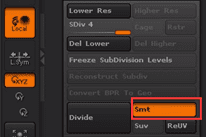
But we want to keep that a little bit tighter so we should turn off the default smooth one and divide again:
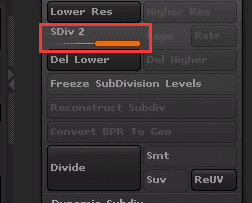
Then we turn on the Smt again and divide, then the angle will not be that smooth:
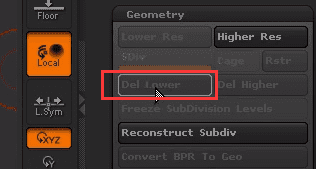
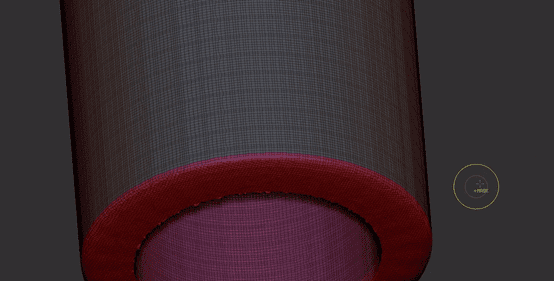
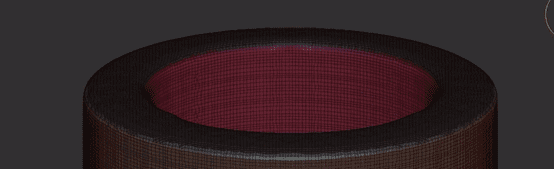
Then we delete lower before we dynamesh
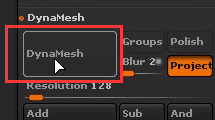
So we come down here to DynaMesh, Let’s click this just with the default settings.
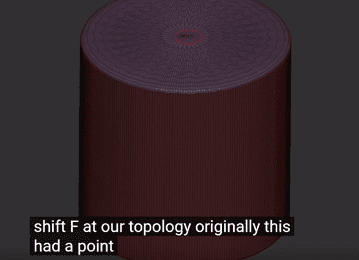
Shift F, this had a point in the center which doesn’t give us some nice to pology(拓扑) through here. So that’s why we are going to dynamesh that. We dynamesh.
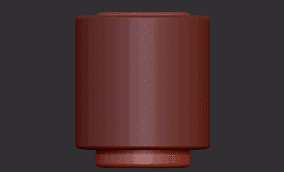
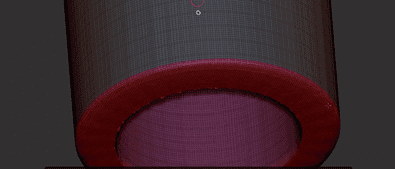
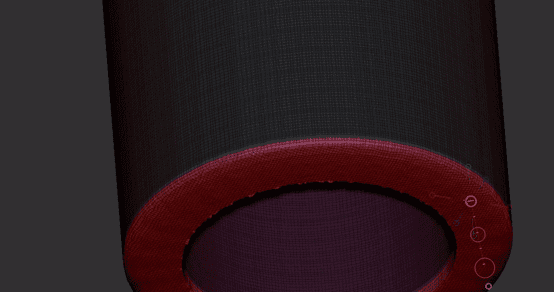
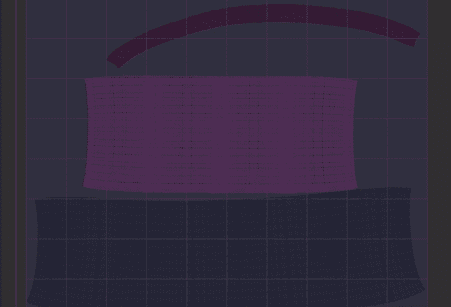
The next thing we are going to do is we’re going to duplicate this mesh down and this is going become our cutter object that bottom one. (do Boolean)
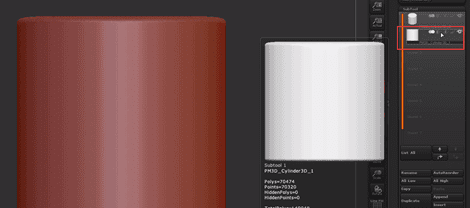
We should click this one, this will make the bottom one a cutter object

Then we find [polygroups], and we see this

And that’s going to allow this to be able to subtract once we get ready to cut and merge. But first we what to do is change the scale of our object.
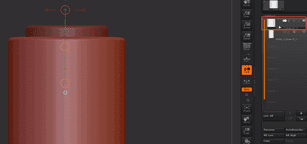
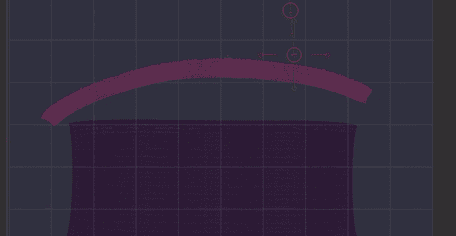
Press W to go to our move tool
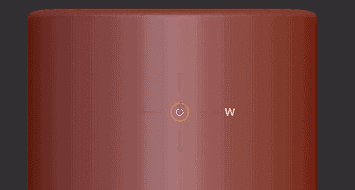
W/e/r is our common shortcut keys:
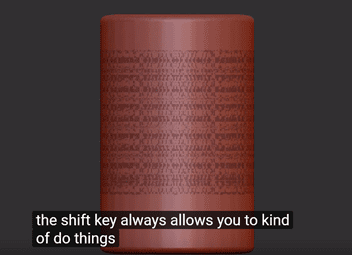
Clicking here to drag, hold down the shift key, it’s going to lock this to the axis and snap to an orthographic view which is extremely helpful to precision maneuvers.
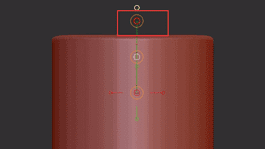
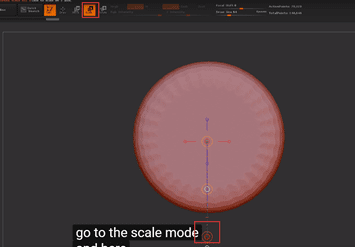
The next thing we are going to do is let’s scale this down a little bit.
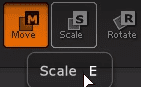
Press E to scale mode.

Hold down shift to move
Then chose the top objects
Click the merge down:
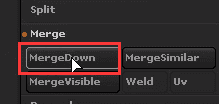
And once we merge down now:
Then hold down ctrl
then click and drag on the side here
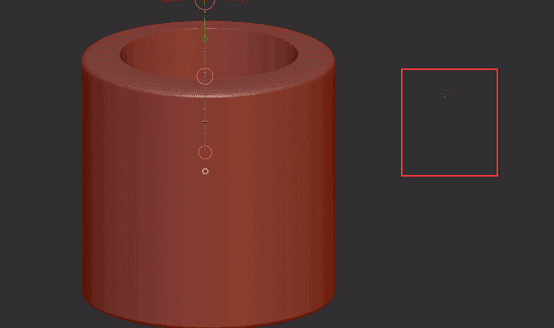
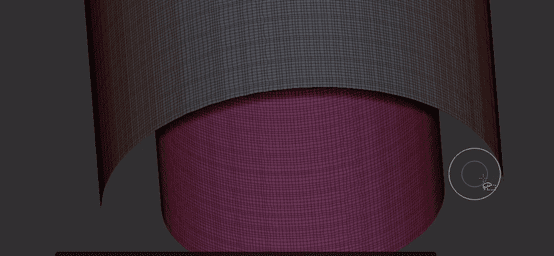
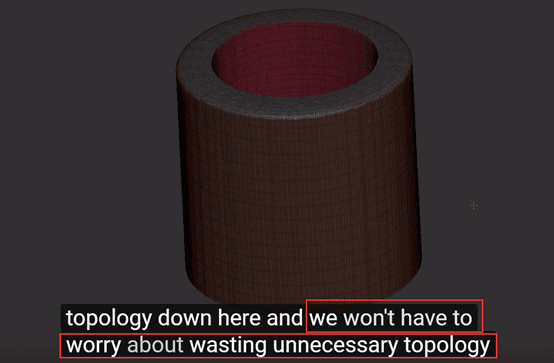
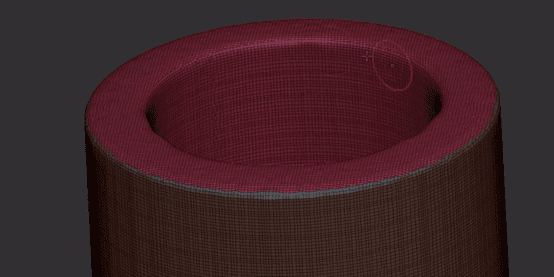
Before we lay out our UVs which is our next step one thing that I like to do is anything that we’re not going to be able to see, I like to delete it.
This is our final images, so the bottom of this pipe we’re not going to need to see any topology.
So let’s go ahead to make a new mass group by pressing ctrl and dragging this on the bottom.
And with that mask activated we’re going to press W then we have a new sub group down here and we’re going to delete it out.
Ctrl+shift and click this.
Then we need to get out of the move tool so we press B to get a standard tool

Clear our mask:
Ctrl+shift click:
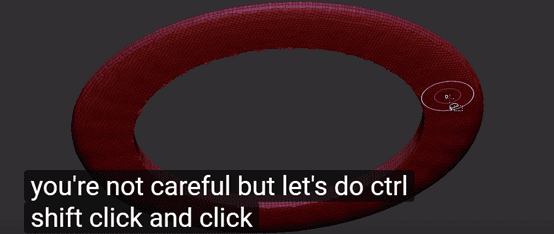
And click it again:
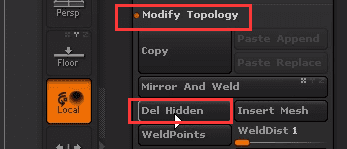
Turn out this dynamesh so it’s not active anymore
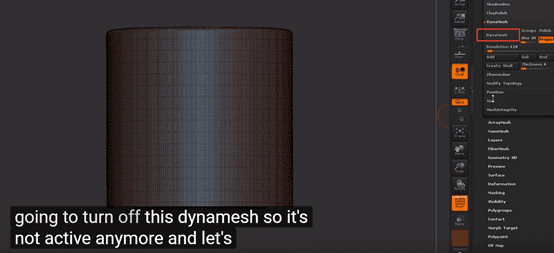
And go to modify topology to delete hidden:
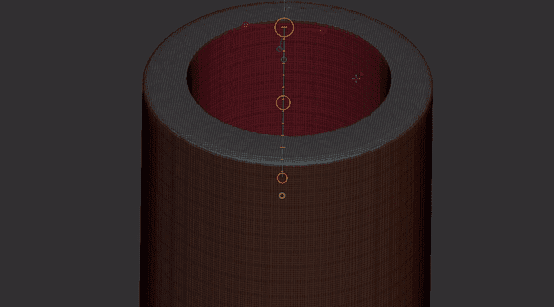
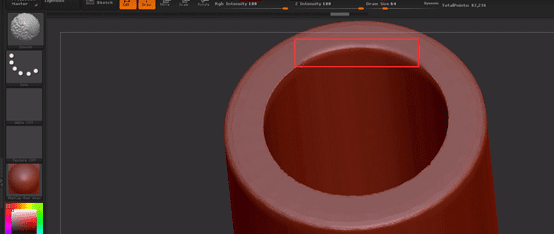
Then press X and press shift to paint these place, so we can smooth that out. When done, we press X again to turn off symmetry.
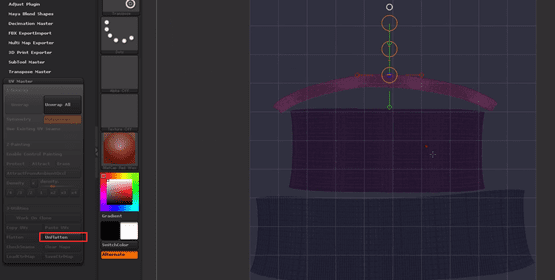
Then we will make uvw maps
So we go to the z-plugins and drag it over here to the side
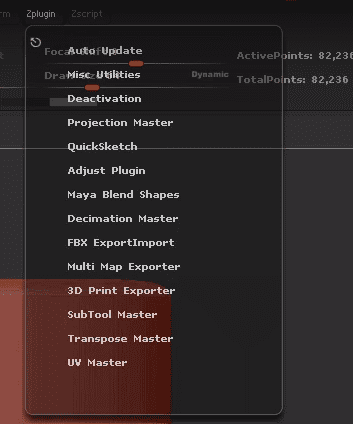
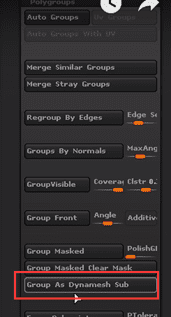
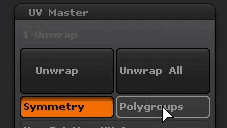
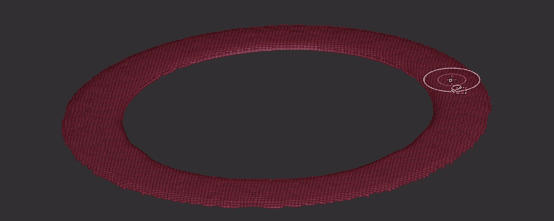
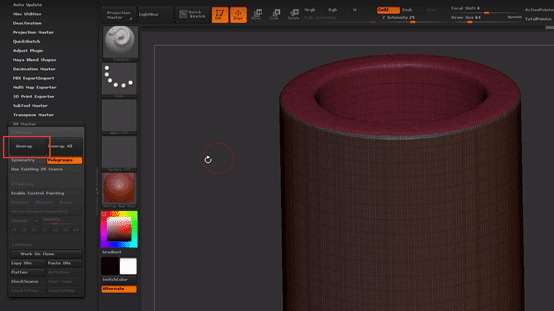
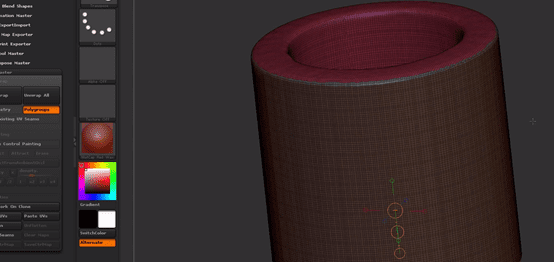
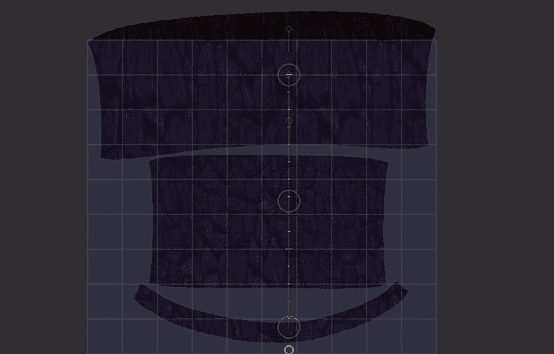
Expand uv master, but I want to activate polygroups and that’s gonna allow me to separate uv islands based on the poly groups that we have:
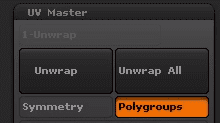
Right now we create two: one for the interior and one for the exterior
However we’re not gonna get a good relax on the exterior cylinder if we still have the top part connected so we should make another polygroup.
We’re gonna once again pull down the ctrl key drag out a mask.
Then ctrl+w that’s just a hot key for making a new mask and even though it’s the same color it technically is a different poly group.
You can double-check that by doing ctrl shift clicking and indeed we do have three different poly groups.
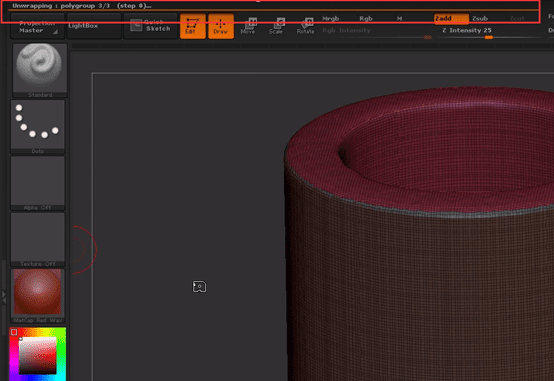
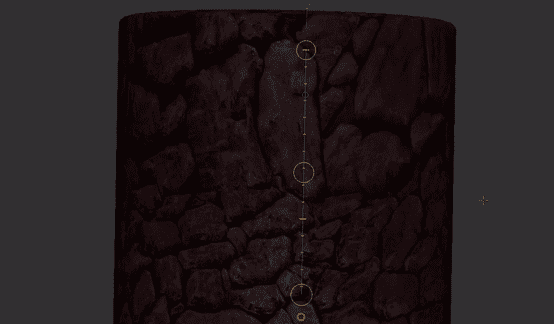
So now let’s go ahead and use the unwrap tool but polygroups active and just hit unwrap:
It will take some minutes and we can see on the top:
Let’s go to flatten:
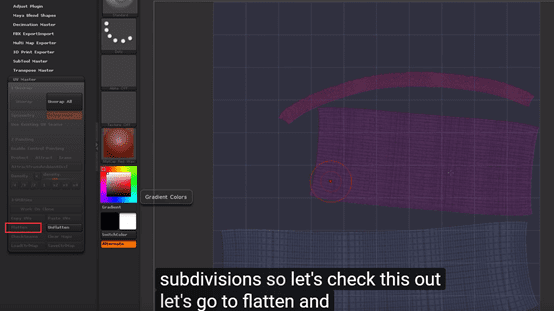
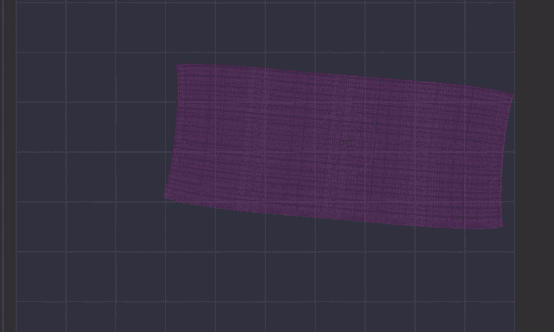
This is a little bit crooked.and it’s not the best use of all our UV space. Ctrl shift click this one and that’ll isolate just this guy then we gonna press W to go to the move mode, just go to the transform tool let’s drag that out and let’s go to R and we’re gonna rotate this a bit
Ctrl shift click this and move it:
Ctrl shift click this one and move this guy down too:
Rotate it nicely:
When we done it, we unflatten this:
Then let’s press shift F
Go to the texture map and click this then import:
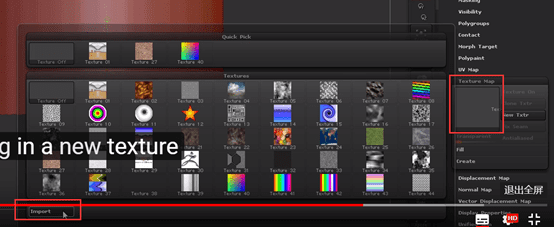
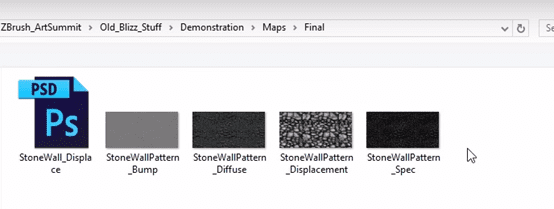
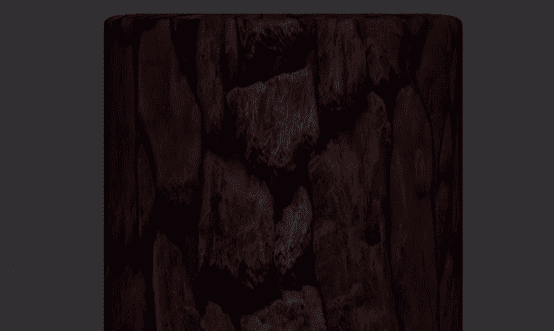
Find diffuse and open:

But the stuff looked a little bit stretched well. So what we can do is flatten this out again and change it to what we have before. Then stretched it to test
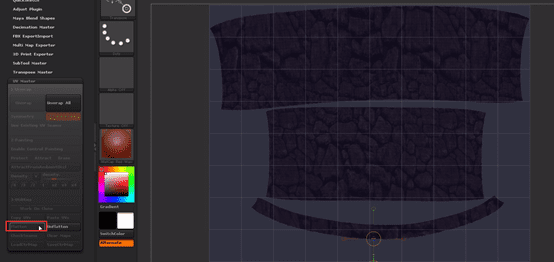
Let’s see what happened:
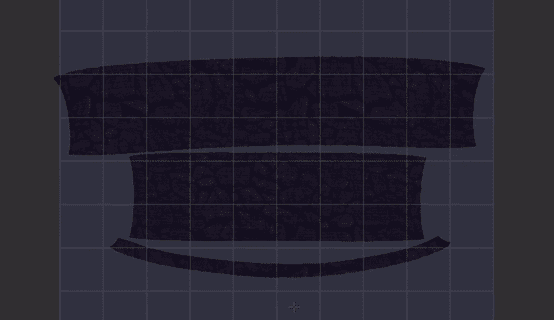
So it’s wrong. Then what we should do is stretch it the other way:
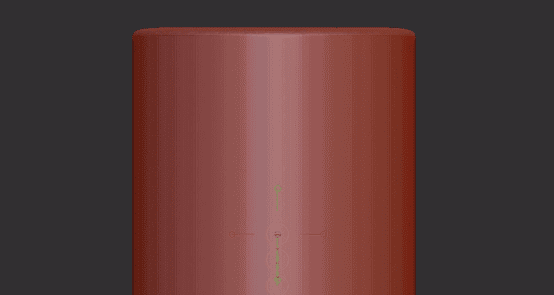
Now we have sth looking pretty good.
该教程的后置: