该教程的前置:
简介:
这是搬运自youtube的一个系列视频教程,介绍了从雪的雕刻,到贴图制作,到keyshot最终渲染的工作流程。原视频链接
这是该教程的第二部分:制作置换、法线及高光贴图。
Chapter2:Creating Displacement map, bump, Diffuse and specular maps
In chapter 2, using your tileable texture map as a base, we will learn how to paint displacement, bump, diffuse and specular maps. We will also learn how to control displacement map values by understanding how positive and negative displacement is controlled with RGB color mapping.
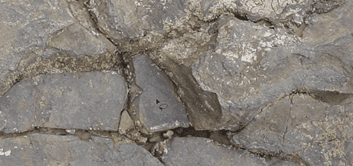
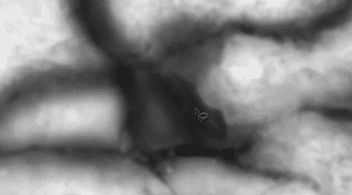
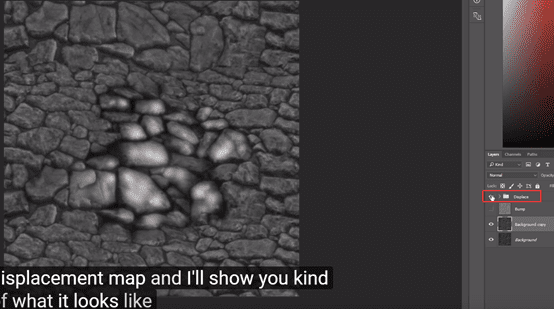
The displacement map is like this, the white….the black values are where I think that maybe there should be a negative displacement that would go in a downward direction.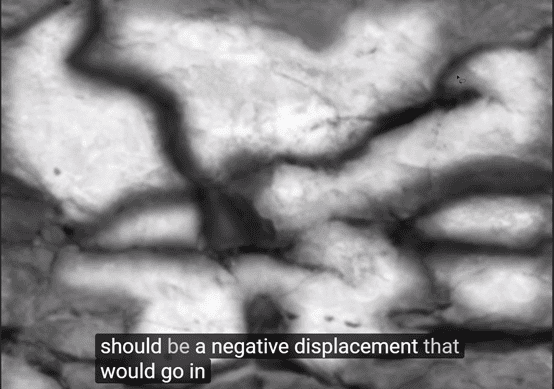
Just like this place, should be all black.
Look at this picture:
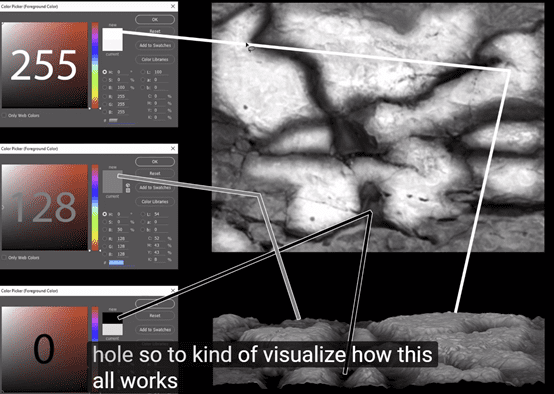
The 255 means:

The 0 means:

128 means:

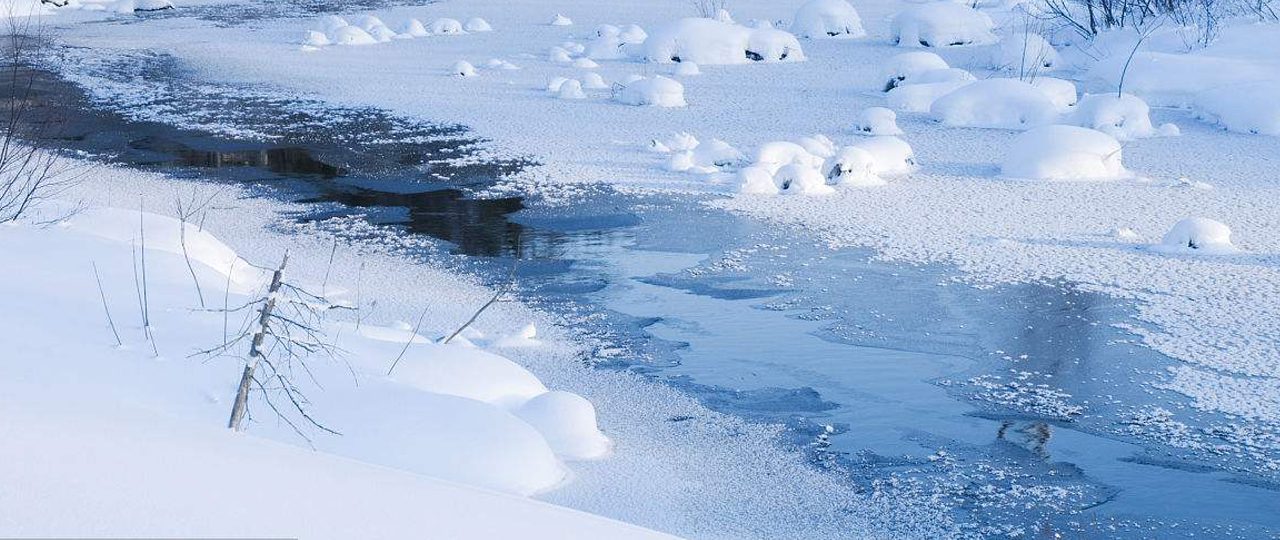
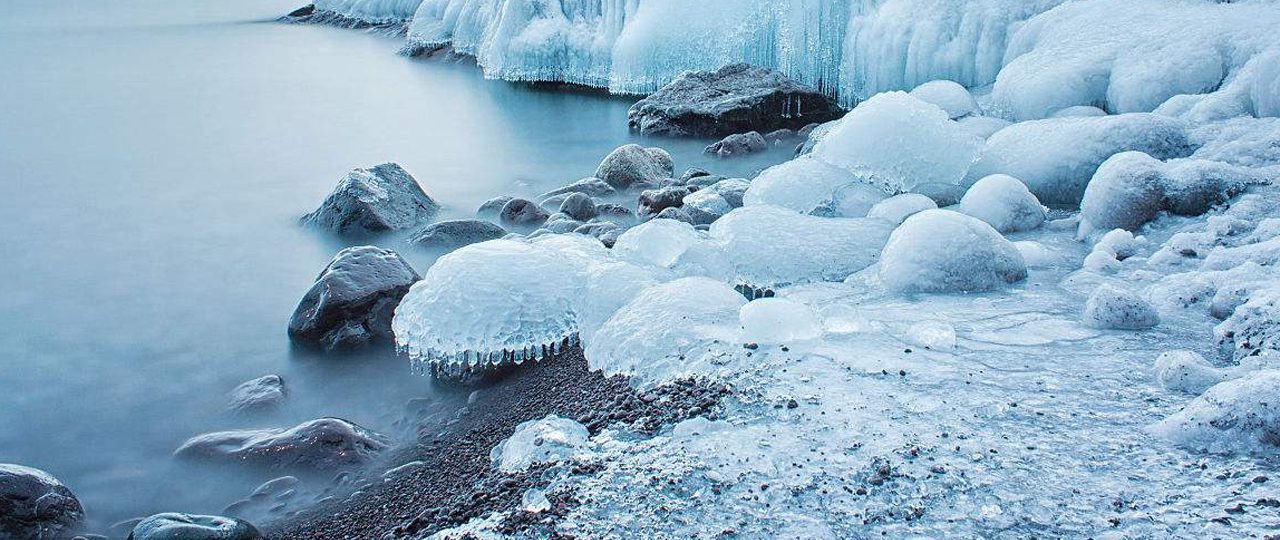
Let’s turn back to our first stone picture, and this displacement map is like:
(this is a basic idea)
Then we talk about how to deal with it.
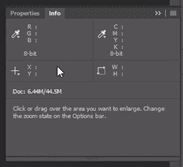
First, we should open the info of this picture, then use the cursor to notice over here, record some color that we can use when we paint the displacement map.

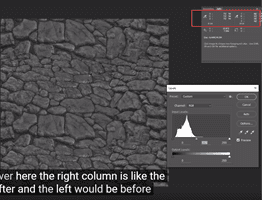
We can find mid gray value in this picture to adjust the color of this a little bit bright.
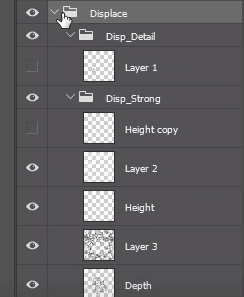
Create a new layer which one will call white and it’s gonna be our positive displacement, and obviously we should also create ‘black’:
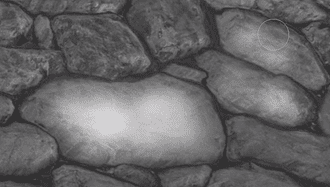
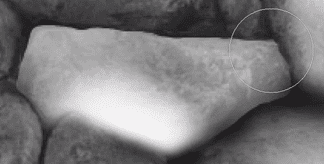
Use white brush to paint positive displacement here
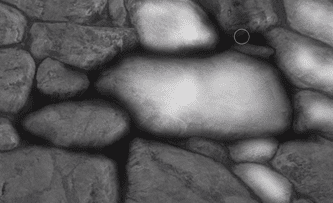
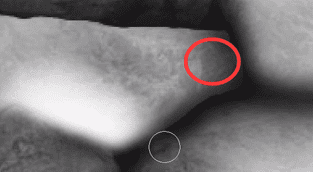
Go to black layer to paint black:
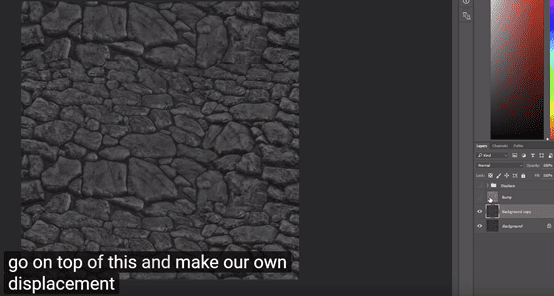
We encourage everyone of you to take more photos and make your own displacement map so here you start to get a basic idea of what we can do and the idea would be you would continue to do this for the entire piece.
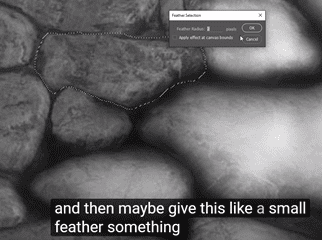
Use lasso to find really specific shapes that you want. And give this a small feather, then we can paint a nice white place. The black place can also like this.

We can us [ctrl H] to hide the Selection range and also use [ctrl H] to display it.
Give it a little bit more blend to get a lot more precision:
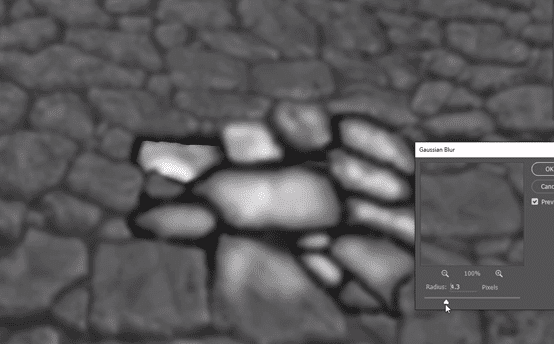
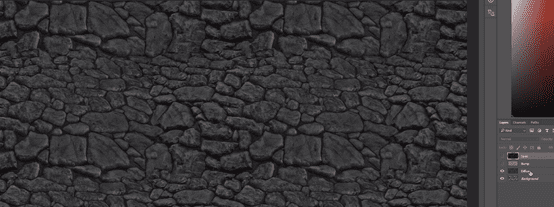
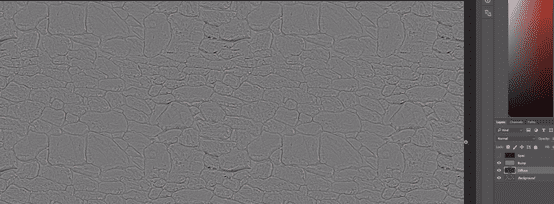
To have our base, we turn back to the layer [background copy] (the brighter one) and do a filter Gaussian blur, and the idea of this is to just remove most of the fine fine detail because that we can turn into a bump map later.
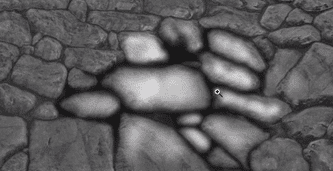
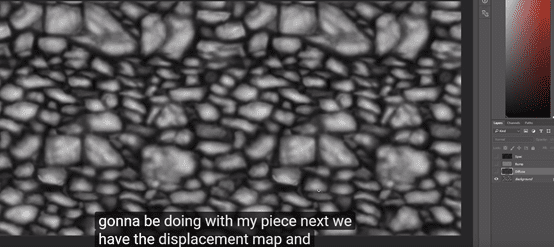
So let we fast forward and show you the final displacement map looked like:
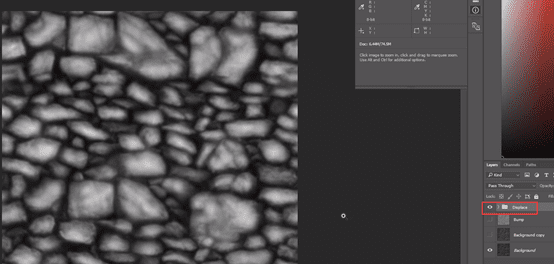
This is the final displacement map that I’m going to use in a few minutes in Zbrush
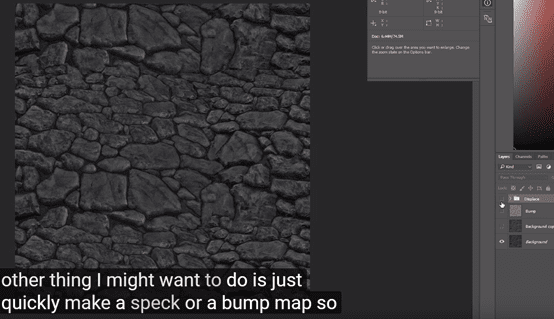
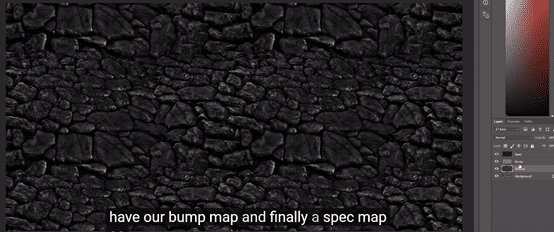
And the other thing I might want to do is just quickly make a speck or a bump map.
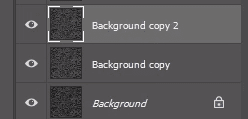
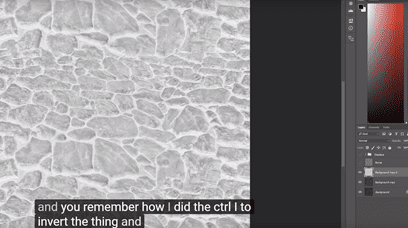
Duplicate this
Ctrl I to invert it
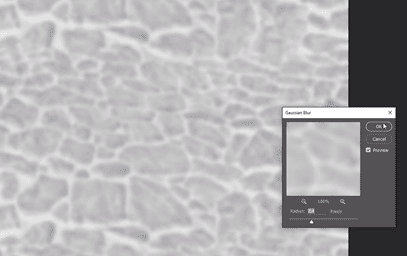
Do blur on this:
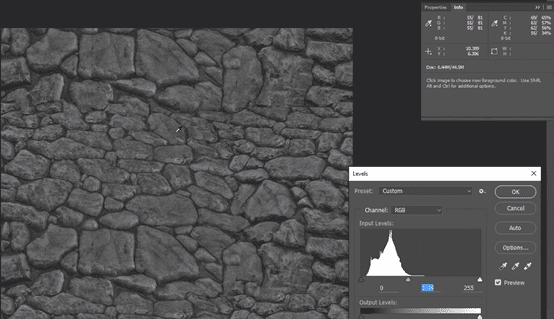
Level:
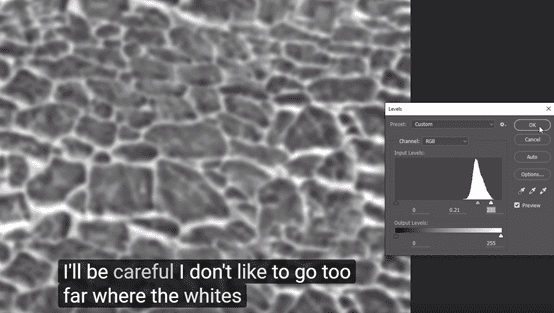
Then try different values. The idea is to get one that removes the really dark crack values. Soft light looks pretty good.

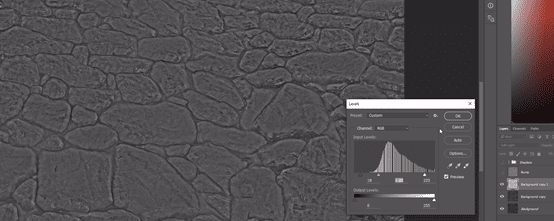
Change level, we can have a little bit of bump that’s going through and cutting through in these areas. Save this off to be our bump.

Then let’s make a spec map same kind of techniques.
Duplicate the layer:

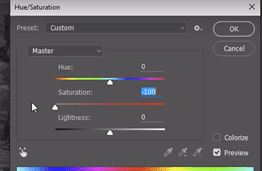
Come to image hue/saturation make sure this doesn’t have any color in it
Then go to levels. This one I really want the dark areas to get almost no speck. We should to give off some information.
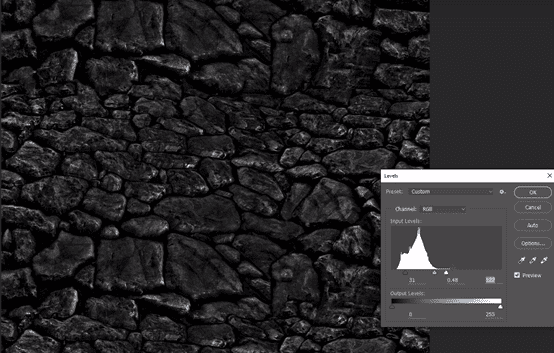
It’s speck

Finally, the first layer is diffuse:

Displacement map:
Bump map:
Specular map:
该教程的后置: